
20th Aug 2026
Expert Tips for Removing and Replacing Deck Post Caps
A well-maintained deck starts with the details that protect it from everyday weather, and post caps deserve more attention than they usually get. When they become worn or damaged, replacing them at the right time helps preserve the condition of the posts beneath them. These expert tips for removing and replacing caps will help you complete the job with confidence while avoiding common mistakes. With the right approach, you can help your deck stay in great shape for years to come.
Know When To Replace
You don't have to wait until a post cap starts to fall apart. Small cracks or moisture damage usually tell you it's time to take a closer look. Catching those warning signs early helps you avoid bigger repairs that affect the top of the post itself.
Fresh post caps improve appearance, but they also protect exposed end grain from rain and changing weather. Once moisture reaches the top of a wooden post, the wood dries more slowly after storms. That repeated cycle gradually shortens the life of the post.
Watch for Hidden Damage
Some problems stay out of sight until you remove the old cap. After lifting it away, inspect the wood carefully. A clean, solid surface gives your replacement cap the best chance to fit correctly and protect the post.
Gather Your Tools
Replacing deck post caps doesn't require a workshop full of specialty equipment. A little preparation keeps the project moving. Therefore, spending a few minutes gathering supplies saves time once you begin.
Keep these items within easy reach:
- A flat pry bar or putty knife
- A rubber mallet
- Safety glasses
- Work gloves
- A clean cloth for wiping debris
Remove Caps Carefully
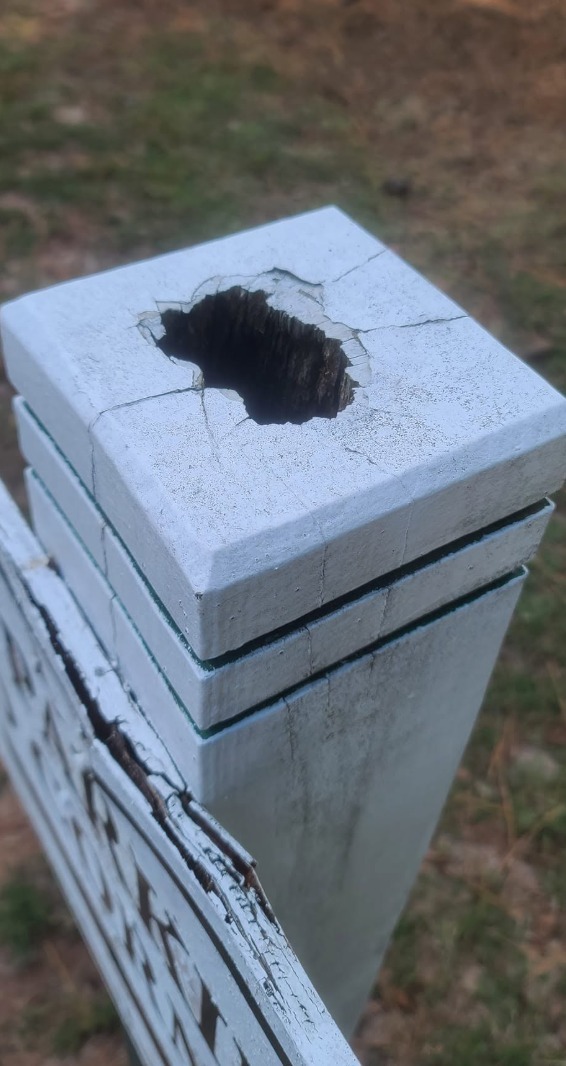
You might feel tempted to pull hard on a stubborn cap, but patience pays off here. Gentle pressure protects both the wood and any surrounding trim. If adhesive holds the cap in place, work slowly around the edges instead of forcing one side upward.
Loosen Adhesive First
Older adhesives sometimes become brittle after years outdoors. Sliding a putty knife around the perimeter helps separate the bond with less stress on the wood. That simple step usually leaves the post in much better condition for the replacement cap.
Protect the Post
Avoid striking the post with metal tools whenever possible. Small dents and chipped corners remain visible after the new cap goes on. Taking your time keeps the finished project looking professional.
Inspect the Post
Once the cap comes off, take a close look at the exposed wood before moving ahead. Dirt, mildew, or old adhesive should come off before you install the replacement. A smooth surface allows the new cap to sit evenly across the top.
If you notice soft wood, repair or replace the damaged section before covering it again. Installing a new cap over deteriorated material simply hides the problem. Therefore, spending extra time here protects your investment over the long run.
Choose the Right Cap
Every replacement starts with choosing a cap that matches your post correctly. Appearance certainly plays a role, but proper fit deserves equal attention because it affects long-term protection. If a cap fits too loosely, moisture and debris find more opportunities to reach the wood.
Think Beyond Appearance
A decorative cap should complement your deck without becoming the only factor in your decision. Durability saves time because you won't replace the cap nearly as frequently. That balance between style and performance gives you greater value over the life of the deck.
Understand Common Sizes
Post caps are labeled with nominal sizes, but they don't always match the actual measurements of your wooden posts because lumber dimensions change during manufacturing. For example, before buying 4x4 fence post caps, measure your posts and compare those measurements to the manufacturer's sizing guide. That extra step helps you choose a cap that fits properly.
Install the New Cap
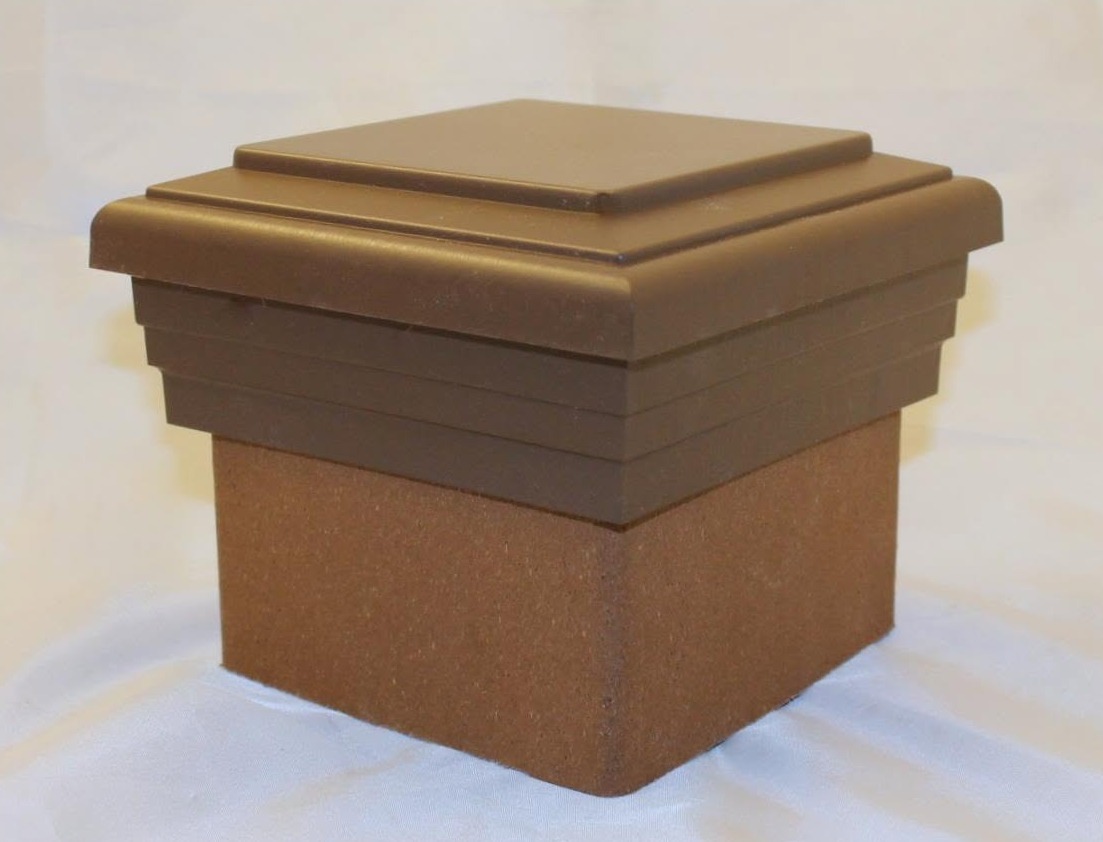
Once you've cleaned the post and confirmed the size, you're ready for the satisfying part of the project. Set the new cap in place before applying adhesive so you can confirm the fit. That quick test gives you the chance to make small adjustments without rushing.
If the cap fits properly, apply adhesive according to the manufacturer's recommendations. Press the cap into position with steady pressure until it sits flat across the entire post. A rubber mallet can help with snug-fitting models, although gentle taps work much better than force.
Allow Proper Curing
Fresh adhesive needs time to reach its full strength. Try to avoid bumping the cap or placing weight against the post during the curing period. Giving the adhesive time to bond helps the cap stay secure through changing weather.
Avoid Common Mistakes
Many replacement projects go smoothly because homeowners avoid a few simple missteps. Rushing through installation usually creates problems that take longer to correct later. Therefore, slowing down for each step usually produces cleaner results.
Keep these reminders in mind while you work:
- Measure every post before ordering replacement caps
- Remove old adhesive completely
- Follow the adhesive manufacturer's instructions
- Keep the post surface clean and dry
- Verify the cap sits level before finishing
Maintain Your Investment
Replacing your post caps isn't the end of the story. A little routine attention helps your new caps stay attractive while continuing to protect the wood beneath them. Thankfully, maintenance takes very little time once you know what to watch for.
Walk around your deck a few times each year and look for loose caps or signs of impact damage. Remove leaves or debris that collect around the tops of the posts after storms. Regular inspections also give you the chance to spot small problems and prevent severe repairs.
Finish With Confidence
Every successful home improvement project requires patience and attention to detail. When you remove an aging cap carefully and install the replacement correctly, your deck immediately looks cleaner. Those small improvements help preserve the appearance and longevity of your outdoor space.
If you need replacement post caps or have questions about finding the correct fit, Atlanta Post Caps provides helpful resources along with a wide selection of American-made options. Choosing the right cap is much easier when you have reliable guidance throughout the process. Take a closer look at your deck today and give your posts the protection they deserve.