Posted by Tim Settle on 15th Jun 2022
Fence Staining, Painting and Waterproofing: How and Why?
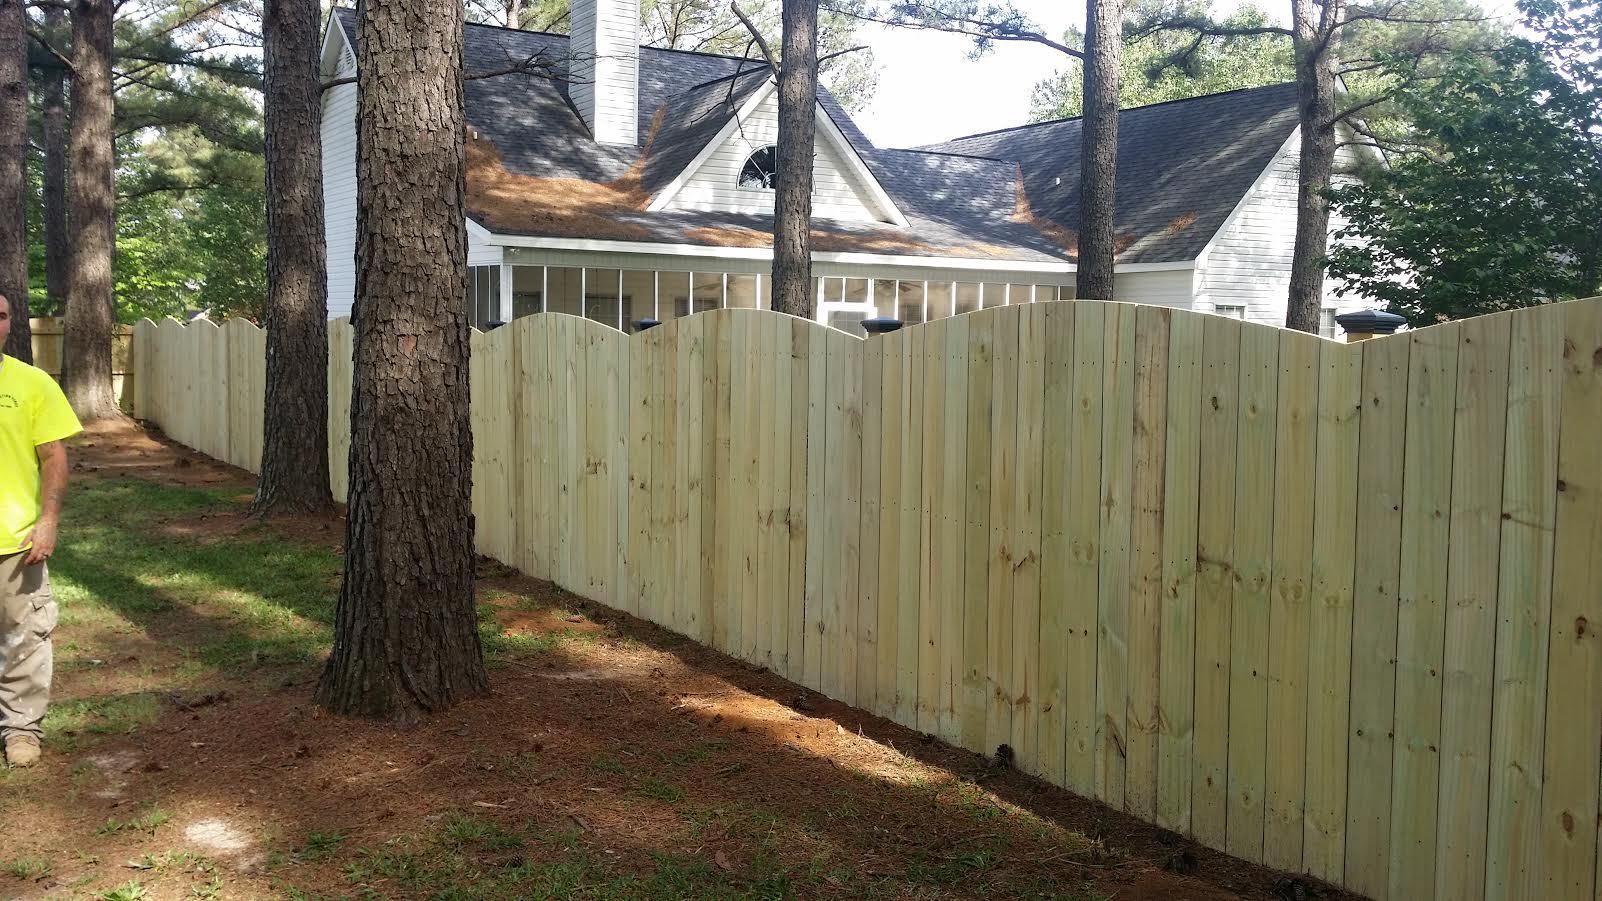
A wooden fence is an absolute backyard classic, but even though they can look great you might eventually get tired of that same old grainy look. Similarly, wooden fences aren’t the most durable choice, often requiring repairs and replacements if not properly maintained or treated. In any of these cases a coat of paint, stain, or some sort of waterproof sealant is probably exactly what your fence needs.
We’ve put together this article so you can better understand exactly why and how to stain, paint, or waterproof your fence, so you can have the long-lasting, best-looking wooden fence around your home.
Fence Staining: Why?
All wooden fences could benefit from staining, as it not only extends the lifespan of the wood but also adds its visual appeal. Applying stain to your wood will protect it against the UV rays of the sun, helping to combat color degradation even in warmer, sunnier areas. It will also help to prevent rot and mildew build-up in your wood, adding to its lasting power. Along with these functional aspects, stain also brings out your wood's natural patina, darkens, and compliments the wood grain look that we know and love.
How to Stain a Wood Fence
Now that you know the why you should how to stain a fence. Learn the steps involved in doing it properly so you can enjoy the accentuated patina, along with all the functional benefits. Once you’ve picked your perfect stain you should be ready to go!
Step 1: Choose the Right Day
The best days for staining a wood fence are those of a lower humidity with the temperature falling somewhere between 50 and 80 Fahrenheit. Too much moisture, heat, or cold can affect how the stain dries, making the process either too slow or too fast, leaving behind unsightly marks.
Step 2: Preparing Your Fence/Area
Getting your fence ready for staining takes a few sub-steps, including:
●Sand the fence if it’s brand new or strip it with a stiff brush if it’s been previously stained. This will ensure that the stain absorbs properly.
●Clean the fence thoroughly with a power washer and let it dry. Staining a dirty fence is a practice in futility, you’ll just be sealing in the filth.
●Treat any mildew or mold with diluted bleach. Make sure the dilution is weak enough then wash it away, again using the power washing after it’s had some time to sit.
●Fill any gaps or cracks with wood filler. Make sure your fence is as well put together as possible, even replacing slats if necessary.
●Protect or move any nearby plants or parts of the fence that you don’t want to stain. You can use painter’s tape to protect parts of the fence.
Step 4: Applying the Stain
Once your fence is properly prepped, you can get to applying the stain itself! Using either a brush, a sprayer, or a roller, simply paint the stain on. Repeat accordingly if the stain is thinner or until you’ve achieved your desired visual effect, then allow to dry.
If using a brush, pain the slats side to side and then up and down. When using a roller, you should fully saturate the roller and apply in 2-3ft sections at a time. You can approach things the same way as with a roller if using a sprayer.
Note that a re-staining will need to be carried out every 2-3 years to ensure maximum efficacy and lasting power with your stained fence.
Fence Painting: Why?
Painting a fence may seem like a purely aesthetic decision, but in fact a fresh coat of paint will help to protect the wooden slats from the elements. With a good quality latex paint, applied with the proper care and technique, you can be confident that your wood fence will have a better chance against wind, rain, and UV rays. Along with the added protection, paint will also change the visual profile of your fence, allowing you to enjoy shades and colors beyond the wood grain that you see with staining.
How to Paint a Fence
Understanding how to paint a fence properly is important for achieving the desired functional and visual effects. Thankfully, the conditions required for painting a fence are less specific than with staining. You can paint a fence in basically any weather conditions, granted that it’s not snowing or raining at the time or within 2-3 of the paint first being applied. It’s also extra convenient because you can even paint directly over stain, and a good quality coat should last for around 10 years.
Now that you know the conditions required for painting fences and have decided on your paint, we can go through the steps.
Step 1: Prep The Area
Paint is toxic to plants, flowers, and any other vegetation, so make sure to move anything in pots near the fence and cover anything that can’t be moved. Secured plastic sheets should do the job at protecting your plants from poisonous splatters.
Step 2: Prep the Fence
Much like with staining, you’ll need to prep your fence properly prior to applying a coat of paint. The sub-steps for this stage are:
●Removing any decorations or hanging baskets and giving the fence a preliminary wipe down.
●Use a power hose to thoroughly wash off any dirt or debris from the surface of the slats, so you don’t seal it on with the paint.
●Scrub off any signs of mold or mildew, using diluted bleach if they’re particularly hard to shift.
●Sand down the surface to smooth it out and remove any hanging splints. Wear goggles and a mask during this step if you’re sensitive to dust.
Step 3: Add a Layer of Wood Primer
For the best results and longest-lasting benefits, apply a layer of wood primer before painting it. Make sure to follow the instructions on the tin and let it dry out sufficiently.
Step 4: Get to Painting!
Now it’s time to properly apply your paint. Much like with stain, you can apply your pain with either a brush, roller, or sprayer.
In the case of using a brush, you don’t need to paint it side to side, and can just go straight into working with the grain. The roller can be used in the exact same way as described with stain. If using a sprayer, make sure that your paint is compatible.
If you’ve done it right, you shouldn’t have to repaint the fence within 10 years, at which point you can choose a new color to switch up the vibe!
Fence Waterproofing: Why?
Applying a waterproof sealant for fences is a great way to protect the wooden slats from the dangers of the rain. When it rains, the water can permeate into the wood, which causes it to swell, and then the heat from the sun will dry it out which causes the wood to shrink. This process taking place over and over again can cause the wood to weaken to the point where it can crack and splinter, which is why sealing it is always a good idea.
Once you’ve applied the sealant, you’ll be left with a waterproof fence on the inside and out, as it will penetrate the fibers, protecting it more comprehensively. Waterproofing a fence will do very little to its appearance if you use a clear sealant, while a colored one can darken the natural tones of the wood.
How to Waterproof a Fence
As you’ve probably gathered by now, the steps prior waterproofing your wood fence are fairly similar to those involved in staining or painting it. Once you’ve cleaned it up and smoothed it out, just brush it, roll it, or spray it on.
With a good sealant, like Thompson’s, your fence should be protected from the rain for around 15 years, and yes, you can apply stain or paint over the top of a sealant.
Final Thoughts
A wooden fence isn’t indestructible, but a waterproof wooden fence with a coat of stain, paint, or all three, it’ll be much closer. To add even more visual flair to your fence why not dress up the posts with some of our very own premium post caps. They’re a great way to add a stylish and classy touch to your fence, pairing well with a fresh coat of paint or seal.
If you enjoyed this and found it informative, why not check out our blog for more on fence maintenance and outdoor living.